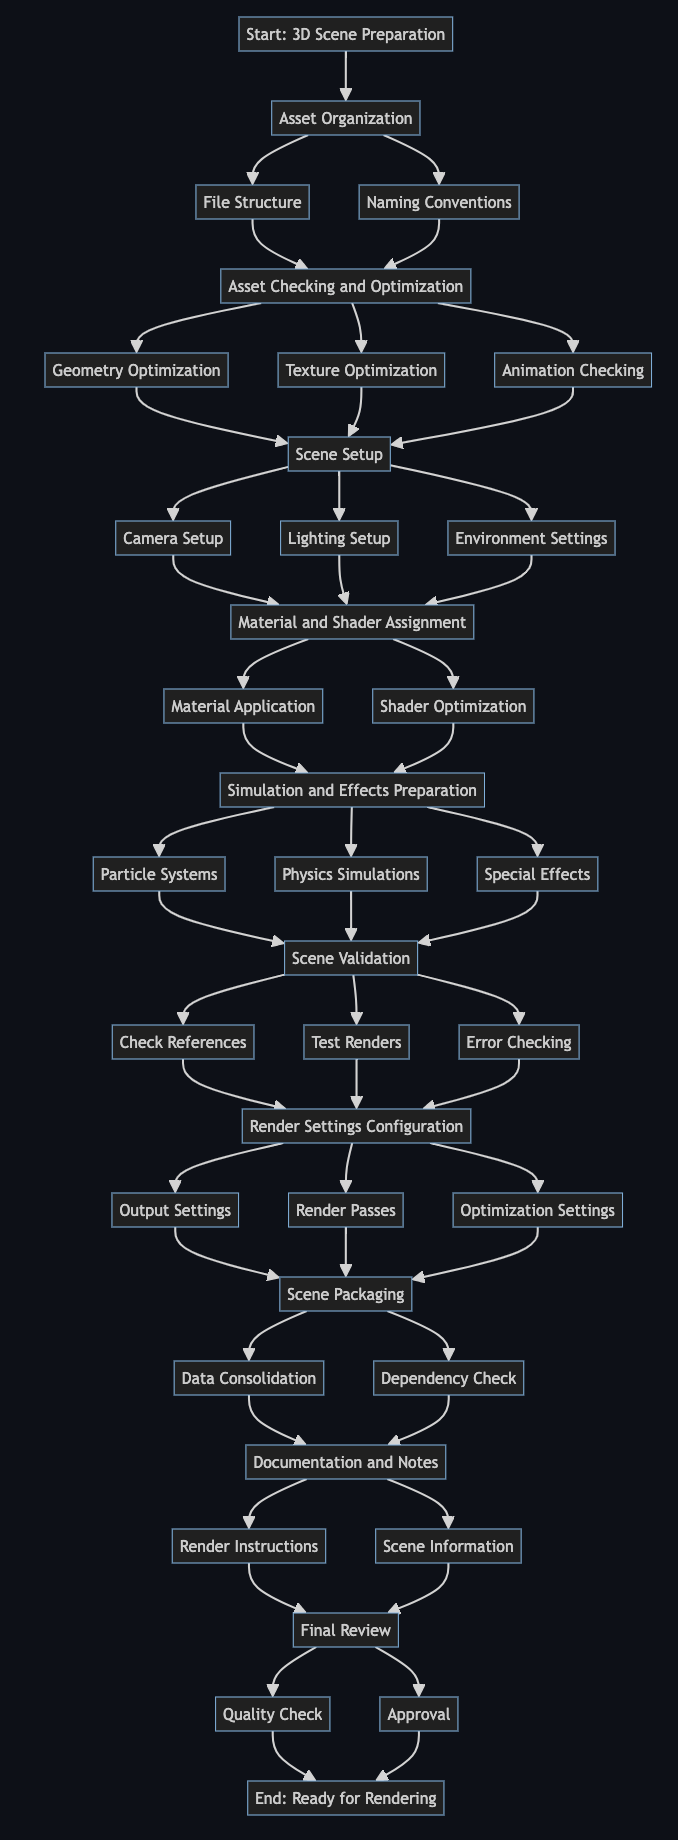
- Asset Organization:
- File Structure: Ensure that all assets (models, textures, animations, scripts, etc.) are organized in a well-structured directory hierarchy. This helps in easy referencing and minimizes the chances of missing files.
- Naming Conventions: Use consistent and clear naming conventions for all assets to avoid confusion and ensure that all references are easily identifiable.
- Asset Checking and Optimization:
- Geometry Optimization: Clean up and optimize 3D models to reduce polygon count without sacrificing quality. This improves rendering performance.
- Texture Optimization: Ensure textures are of appropriate resolution and format. Compress textures if necessary to reduce file sizes and improve loading times.
- Animation Checking: Verify that all animations are properly linked and play correctly. Remove any unnecessary keyframes to streamline the animation data.
- Scene Setup:
- Camera Setup: Position and animate cameras as needed. Ensure that camera settings (e.g., focal length, depth of field) are correctly configured.
- Lighting Setup: Place and configure lights to achieve the desired look. Ensure that light settings (e.g., intensity, color, shadows) are correctly set.
- Environment Settings: Configure environment settings such as background images, HDRI maps, and atmospheric effects.
- Material and Shader Assignment:
- Material Application: Apply appropriate materials to all objects in the scene. Ensure that all material properties (e.g., diffuse, specular, bump maps) are correctly set.
- Shader Optimization: Optimize shaders to ensure they render efficiently. Use simpler shaders where possible to reduce rendering times.
- Simulation and Effects Preparation:
- Particle Systems: Set up and configure any particle systems (e.g., smoke, fire, rain) used in the scene.
- Physics Simulations: Prepare any physics simulations (e.g., cloth, fluids) and ensure they run correctly.
- Special Effects: Prepare any additional special effects (e.g., volumetric lighting, lens flares) that need to be rendered.
- Scene Validation:
- Check References: Ensure all external references (e.g., linked models, textures) are correctly linked and accessible.
- Test Renders: Perform low-resolution test renders to check for any issues with lighting, materials, or geometry. Make adjustments as needed.
- Error Checking: Use software tools to check for common errors (e.g., missing textures, broken links, overlapping geometry) and resolve any issues found.
- Render Settings Configuration:
- Output Settings: Configure output settings such as resolution, frame rate, and file format.
- Render Passes: Set up render passes (e.g., diffuse, specular, shadow) if needed for compositing.
- Optimization Settings: Adjust render settings to balance quality and rendering time. This includes setting appropriate sampling rates, anti-aliasing, and other quality settings.
- Scene Packaging:
- Data Consolidation: Consolidate all scene data into a single package or directory. This may involve creating archive files or using specific scene packaging tools provided by the rendering software.
- Dependency Check: Ensure all dependencies (textures, models, plugins) are included in the package to avoid missing assets during rendering.
- Documentation and Notes:
- Render Instructions: Prepare documentation or notes detailing any special instructions for rendering, including specific settings or steps to follow.
- Scene Information: Include information about the scene setup, such as camera angles, lighting configurations, and material properties.
- Final Review:
- Quality Check: Conduct a final quality check to ensure everything is set up correctly and meets the desired standards.
- Approval: If working in a team, get approval from relevant stakeholders (e.g., art director, client) before proceeding to rendering.